


Connecting Dockerized Applications to MySQL running in the Host Machine
Docker containers operate in an isolated environment with their own network namespace. By default:
- Containers cannot directly access the host machine's services using
localhostor127.0.0.1becauselocalhostrefers to the container itself, not the host. - Special configurations are needed to expose the host machine's services to the container.
Problem Overview
Suppose you have a Docker container running a Node.js application with Express that needs to connect to a MySQL instance hosted on your local machine and If localhost is used as the host in the env file or in the application, the application might throw errors like:
-
ER_HOST_NOT_PRIVILEGEDwhen the host machine's database is not accessible. -
Host '<container_ip>' is not allowed to connect to this MySQL serverwhen the MySQL server denies access. -
Syntax errors when granting privileges or setting up user accounts in MySQL.
Not lets go into the step wise process of proper configuration
Step 1: Identify the Host IP Address
Docker containers are isolated from the host machine and communicate over a virtual network. To allow your Docker container to access the host’s MySQL instance, you need to determine the host's IP address that the container can reach.
On Linux:
The default bridge network Docker creates maps the host IP to 172.17.0.1. You can confirm this with:
ip addr show docker0The output will include an IP address like 172.17.0.1. Use this as the host address.
On Other Platforms (macOS/Windows):
Docker provides a special DNS name host.docker.internal that resolves to the host machine's IP address. You can directly use host.docker.internal in your application configurations.
Step 2: Configure MySQL to Listen on the Correct Address
By default, MySQL may only listen on 127.0.0.1 (localhost), which makes it inaccessible to Docker containers. To allow connections from the Docker network:
-
Open the MySQL configuration file, usually located at
/etc/mysql/my.cnfor/etc/my.cnf. -
Look for the following lines and modify them:
bind-address = 0.0.0.0
mysqlx-bind-address = 0.0.0.0
Setting
bind-addressto0.0.0.0ensures MySQL listens on all available network interfaces. -
Restart the MySQL server to apply changes:
sudo systemctl restart mysql
Step 3: Grant Access to the Docker Container
MySQL uses user authentication tied to specific host IPs. For the Docker container to connect, you need to grant privileges to the container's IP.
Find the Container’s IP
To find the container’s IP address, run:
docker inspect <container_id> | grep IPAddressAlternatively, the container IP can be dynamically assigned, so it's better to allow access to the entire Docker bridge network (172.17.0.0/16).
Grant Privileges in MySQL
Connect to the MySQL instance and execute the following commands:
CREATE USER 'root'@'172.17.0.%' IDENTIFIED BY 'your_password';
GRANT ALL PRIVILEGES ON your_database.* TO 'root'@'172.17.0.%';
FLUSH PRIVILEGES;
Replace your_password and your_database with the appropriate values.
Step 4: Update Node.js Application Configuration
In your Node.js application, update the database connection settings to use the host’s IP address or host.docker.internal (on macOS/Windows). If you’re using the popular mysql2 or mysql libraries, the configuration might look like this:
Using the mysql2 Library:
Install the library if you haven’t already:
npm install mysql2Set up the database connection in your application:
const mysql = require('mysql2');

const connection = mysql.createConnection({
  host: '172.17.0.1', // Or 'host.docker.internal' for macOS/Windows
  user: 'root',
  password: 'your_password',
  database: 'your_database',
});

connection.connect((err) => {
  if (err) {
    console.error('Error connecting to the database:', err);
    return;
  }
  console.log('Connected to the MySQL database.');
});
Step 5: Test the Connection
To verify the connection:
-
Start your MySQL server on the host machine.
-
Run the Docker container with your Node.js application.
-
Check the application logs for successful database connection messages or use tools like
telnetto test connectivity:telnet 172.17.0.1 3306
If everything is configured correctly, your Node.js application should now connect to the MySQL database.
Common Errors and Fixes
Error: Host '<container_ip>' is not allowed to connect to this MySQL server
-
Ensure the MySQL user is granted privileges for the correct IP address.
-
Use wildcards like
172.17.0.%to allow access from all containers in the Docker network.
Error: ER_ACCESS_DENIED_ERROR
-
Double-check the username and password in your Node.js application.
-
Ensure the MySQL user account is configured to allow connections from the container’s IP or network.
Error: Cannot connect to MySQL server on '172.17.0.1'
-
Verify that MySQL is configured to listen on
0.0.0.0and that the service is running. -
Check firewall settings to ensure traffic is allowed on port
3306.
Conclusion
By this process your nodejs application or any application running in the docker container can easily use the database server running in the host machine. For further assistance or clarity contact anuj@dallotech.com
Happy coding!
.png&w=3840&q=75)
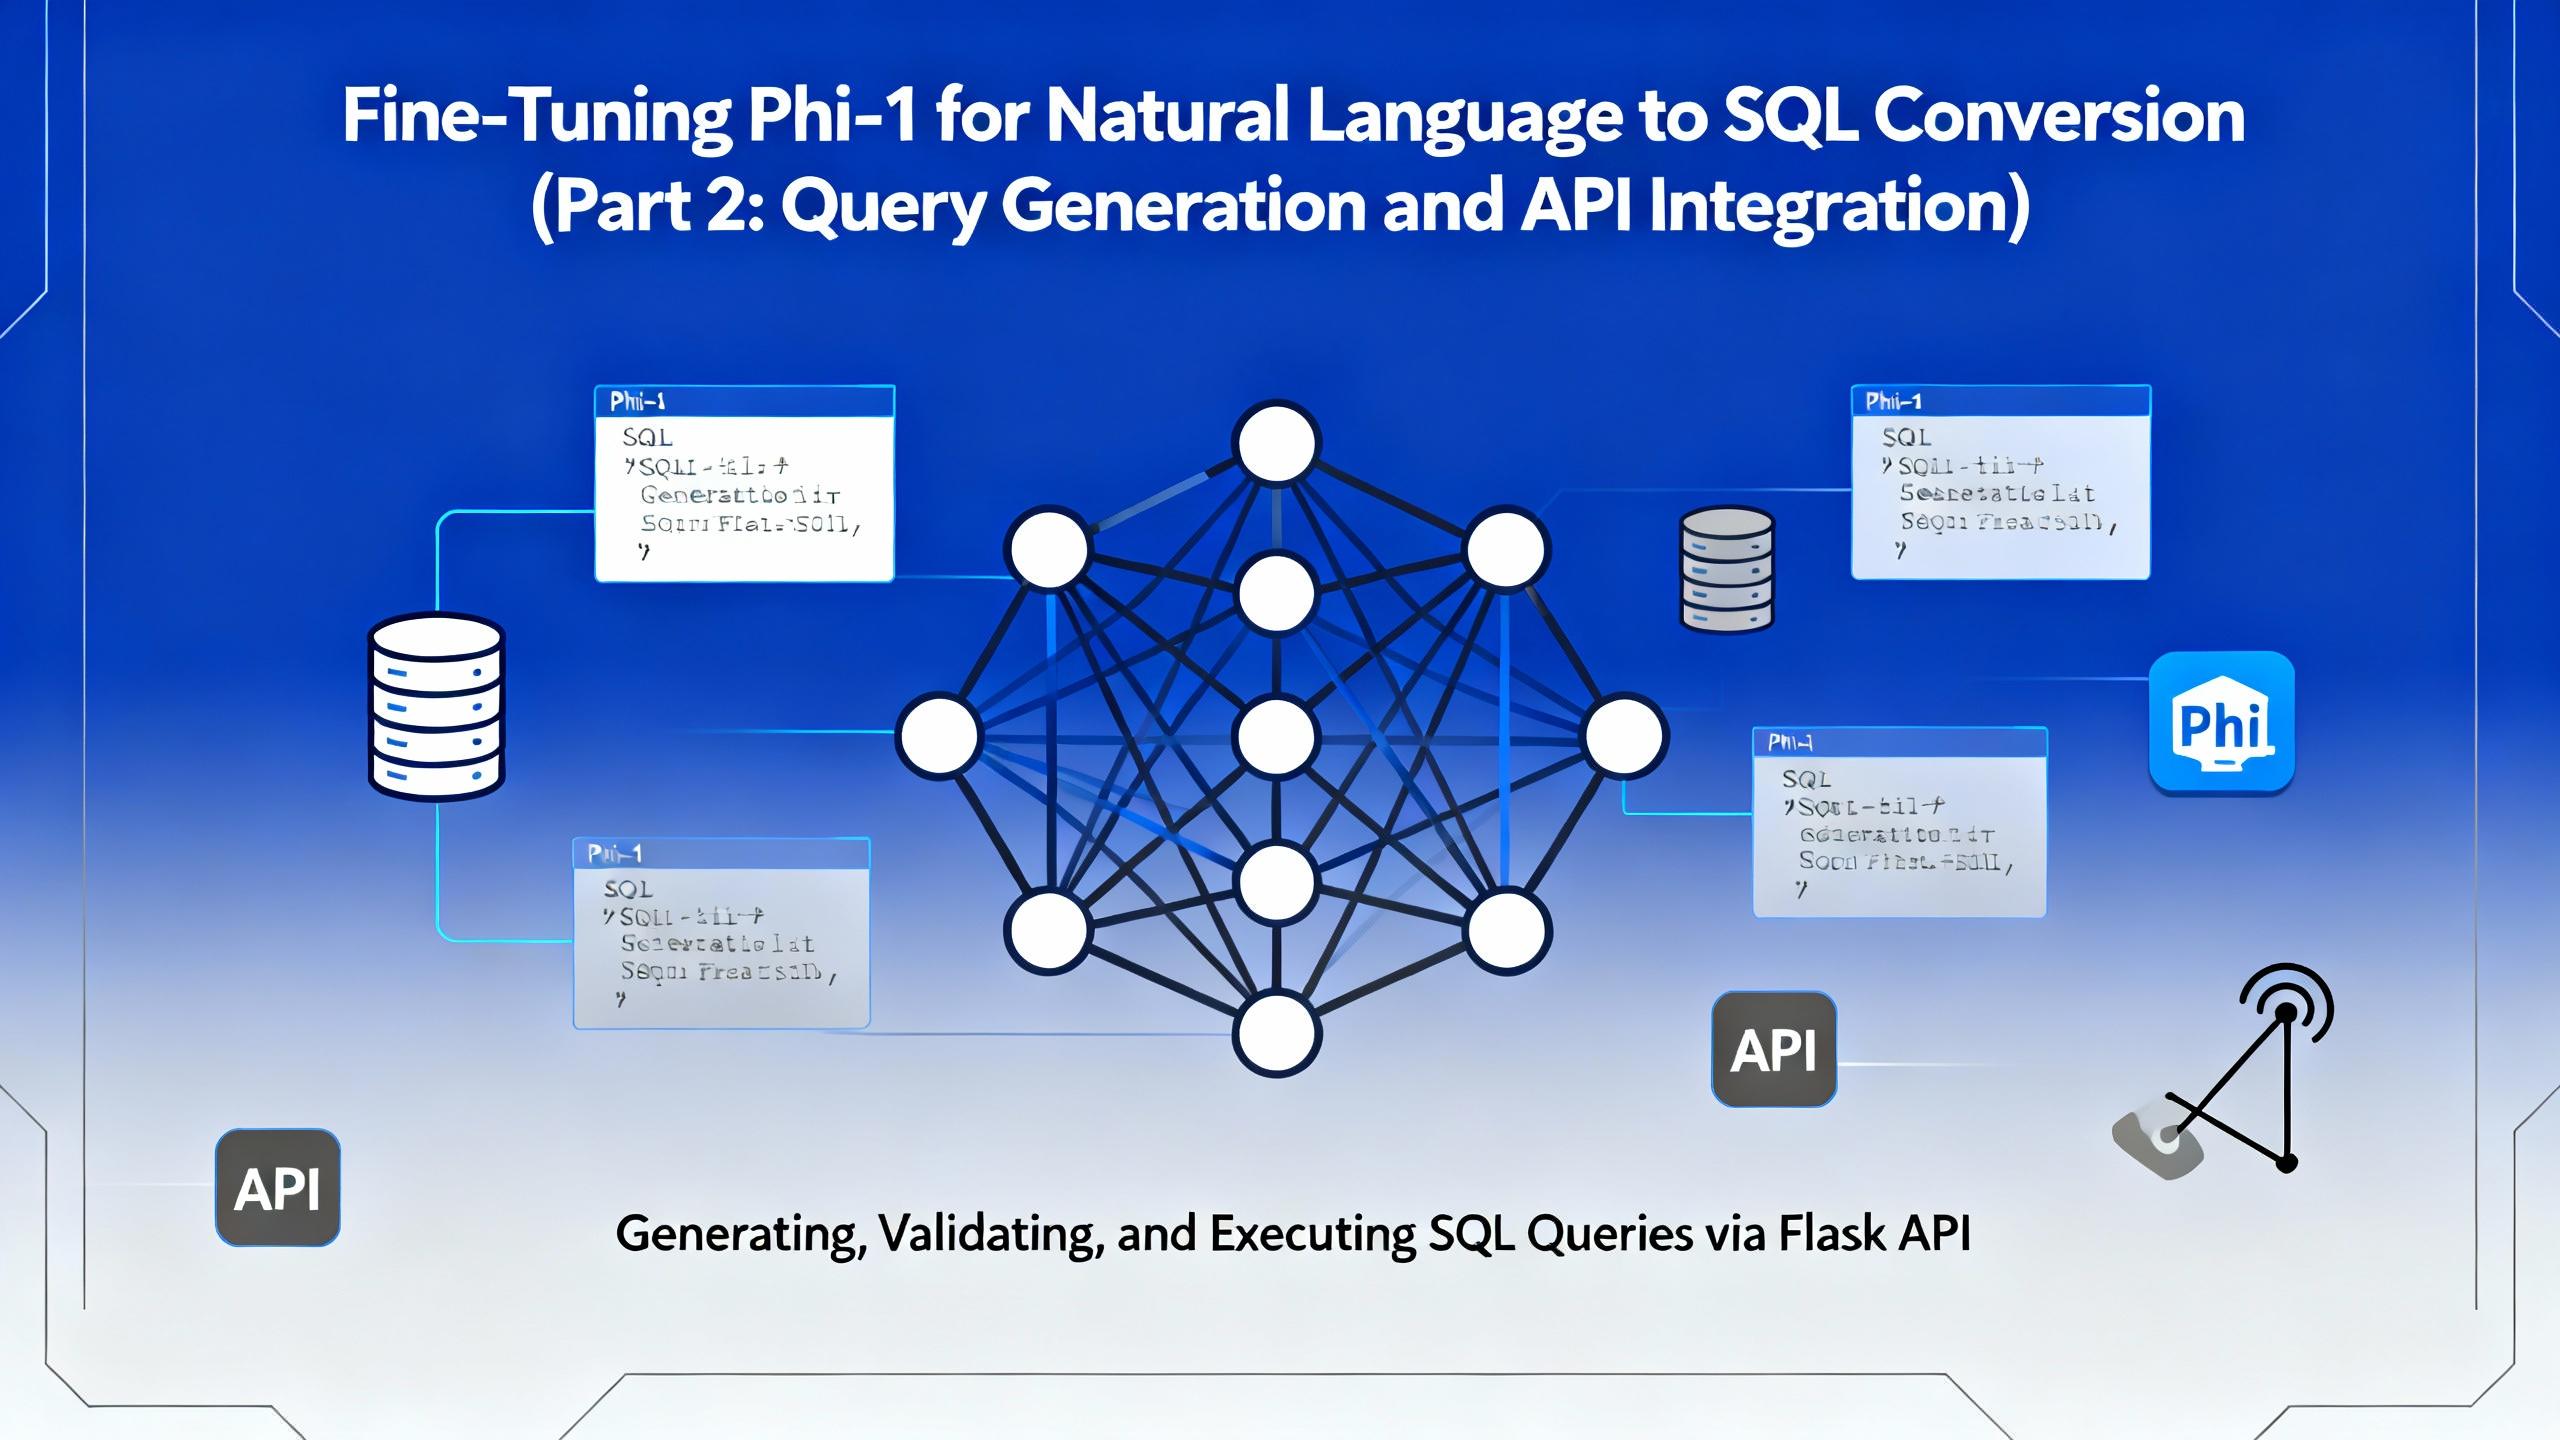
In the second part of this series, we move beyond model training and bring our fine-tuned Microsoft Phi-1 to life. This article focuses on query generation, safe SQL execution, and building a Flask-based API that allows real-time interaction with financial databases.

In today’s data-driven world, being able to query databases with natural language is becoming increasingly valuable. Imagine simply typing: “Show me the total interest income of Kumari Bank in April 2022” and instantly receiving a valid SQL query (and even the corresponding chart!) — no manual SQL writing required.


Discover the power of vibe coding building a Discord attendance bot with AI, transforming a clunky biometric system into a modern solution. Learn how AI-driven development can revolutionize your business, contact DalloTech for custom solutions!
Explore the essentials of IP binding in Dockerized applications with this insightful Dallo Tech blog post. Gain expert tips and best practices to optimize your containerized workflows effectively.
