

.png&w=3840&q=75)
This tutorial provides a Step-by-Step Guide to Dockerizing Next.js Project.
Next.js is rapidly gaining popularity, thanks to its robust server-side capabilities and exceptional speed. As developers seek efficient solutions, the framework's quick performance is setting it apart in the ever-evolving tech landscape.
Step 1: Docker Installation
Docker installation is a pretty straightforward process. We will be taking reference from the official docker documentation. We can install docker from https://docs.docker.com/engine/install/
Step 2: Next.js project Initialization
We will be using a sample Next.js project provided by Vercel
npx create-next-app@latest nextjs-blog --use-npm --example "https://github.com/vercel/next-learn/tree/main/basics/learn-starter"This will create a sample project in the folder nextjs-blog
Step 3: Writing Dockerfile
This is the most important step in dockerizing the project. Create a file called Dockerfile in the project root directory. We will be using a multi-staged docker file for build efficiency.
FROM node:20 as dependencies

WORKDIR /app
COPY package.json ./
RUN npm install --legacy-peer-deps

FROM node:20 as builder
WORKDIR /app
COPY . .
COPY --from=dependencies /app/node_modules ./node_modules

RUN npm run build

FROM node:20 as runner
WORKDIR /app

ENV NODE_ENV production

COPY --from=builder /app/public ./public

COPY --from=builder /app/.next ./.next

COPY --from=builder /app/node_modules ./node_modules

COPY --from=builder /app/package.json ./package.json

EXPOSE 3000


CMD ["npm", "start"]
This Dockerfile is used to create a multi-stage Docker image for the Next.js application. Multi-stage builds are a feature in Docker that allows you to use multiple FROM statements in your Dockerfile. Each FROM instruction can use a different base image, and only the final image is saved, resulting in a smaller and more efficient final image.
Let's go through each step of the Dockerfile:
-
Stage 1: dependencies
FROM node:20 as dependencies WORKDIR /app COPY package.json ./ RUN npm install --legacy-peer-deps- It starts with the official Node.js 20 image as the base image.
- Sets the working directory inside the container to
/app. - Copies the
package.jsonfile to the working directory. - Runs
npm installto install the dependencies. The--legacy-peer-depsflag is used to enable support for older packages that may have peer dependency resolution issues.
- It starts with the official Node.js 20 image as the base image.
-
Stage 2: builder
FROM node:20 as builder WORKDIR /app COPY . . COPY --from=dependencies /app/node_modules ./node_modules RUN npm run build- Starts with the same Node.js 20 base image.
- Sets the working directory inside the container to
/app. - Copies the entire application code to the working directory.
- Copies the
node_modulesdirectory from thedependenciesstage, which contains the installed dependencies. - Runs
npm run buildto build the application. The assumption here is that there is a build script in thepackage.jsonfile that performs the necessary build steps.
- Starts with the same Node.js 20 base image.
-
Stage 3: runner
FROM node:20 as runner WORKDIR /app ENV NODE_ENV production COPY --from=builder /app/public ./public COPY --from=builder /app/.next ./.next COPY --from=builder /app/node_modules ./node_modules COPY --from=builder /app/package.json ./package.json EXPOSE 3000 CMD ["npm", "start"]- Starts with the Node.js 20 base image again.
- Sets the working directory inside the container to
/app. - Sets the environment variable
NODE_ENVtoproduction. - Copies the necessary files and directories from the
builderstage to the working directory. This includes thepublicdirectory,.nextdirectory,node_modulesdirectory, andpackage.jsonfile. - Exposes port 3000, indicating that the application inside the container will listen on this port.
- Defines the default command to run when the container starts using
CMD. In this case, it'snpm start.
- Starts with the Node.js 20 base image again.
Step 4: Writing .dockerignore
Now we will be uploading the docker image to the remote docker repository so to upload unnecessary files we need to add dockerignore. Create a file called .dockerignore in the base directory and insert the following content
node_modules
*.lock
Step 5: Building Docker Image
Now we are ready to build the docker image. For building the docker image following command is used.
docker build -t nextjs-demo-blog -f Dockerfile .
-
-
docker build: This is the command to build a Docker image. -
-t nextjs-demo-blog: This option specifies the name and optionally a tag to assign to the image being built. In this case, the image will be named "nextjs-demo-blog." -
-f Dockerfile: This option allows you to specify the name of the Dockerfile (and its path) to use for building the image. In this case, it specifies that the Dockerfile is named "Dockerfile" and is located in the current directory. -
.: This is the build context. It specifies the path to the build context, which is the root directory where the build process looks for files needed to build the Docker image. In this case, it's the current directory (.).
-
To see the image status we can simply type the following command in terminal
docker imagesThis will list all the images present in the docker and we will see nextjs-demo-blog also
Step 6: Running the docker image
docker run -p 3000:3000 nextjs-demo-blog
-
-
docker run: This is the command used to run a Docker container. -
-p 3000:3000: This option specifies port mapping. It maps port 3000 on the host to port 3000 on the container. The format is-p host_port:container_port. In this case, any traffic coming to port 3000 on the host will be forwarded to port 3000 inside the running container. -
nextjs-demo-blog: This is the name (and optionally the tag) of the Docker image from which to create and run the container.
-
Putting it all together, this docker run command starts a new container from the "nextjs-demo-blog" Docker image, and it maps port 3000 on the host to port 3000 inside the container. You can access it by navigating to http://localhost:3000 in your web browser on the host machine.
In this tutorial, we Dockerized the Next.js project and made it production-ready. In this next tutorial, we will look into docker deployment. For further information do contact anuj@dallotech.com
.png&w=3840&q=75)
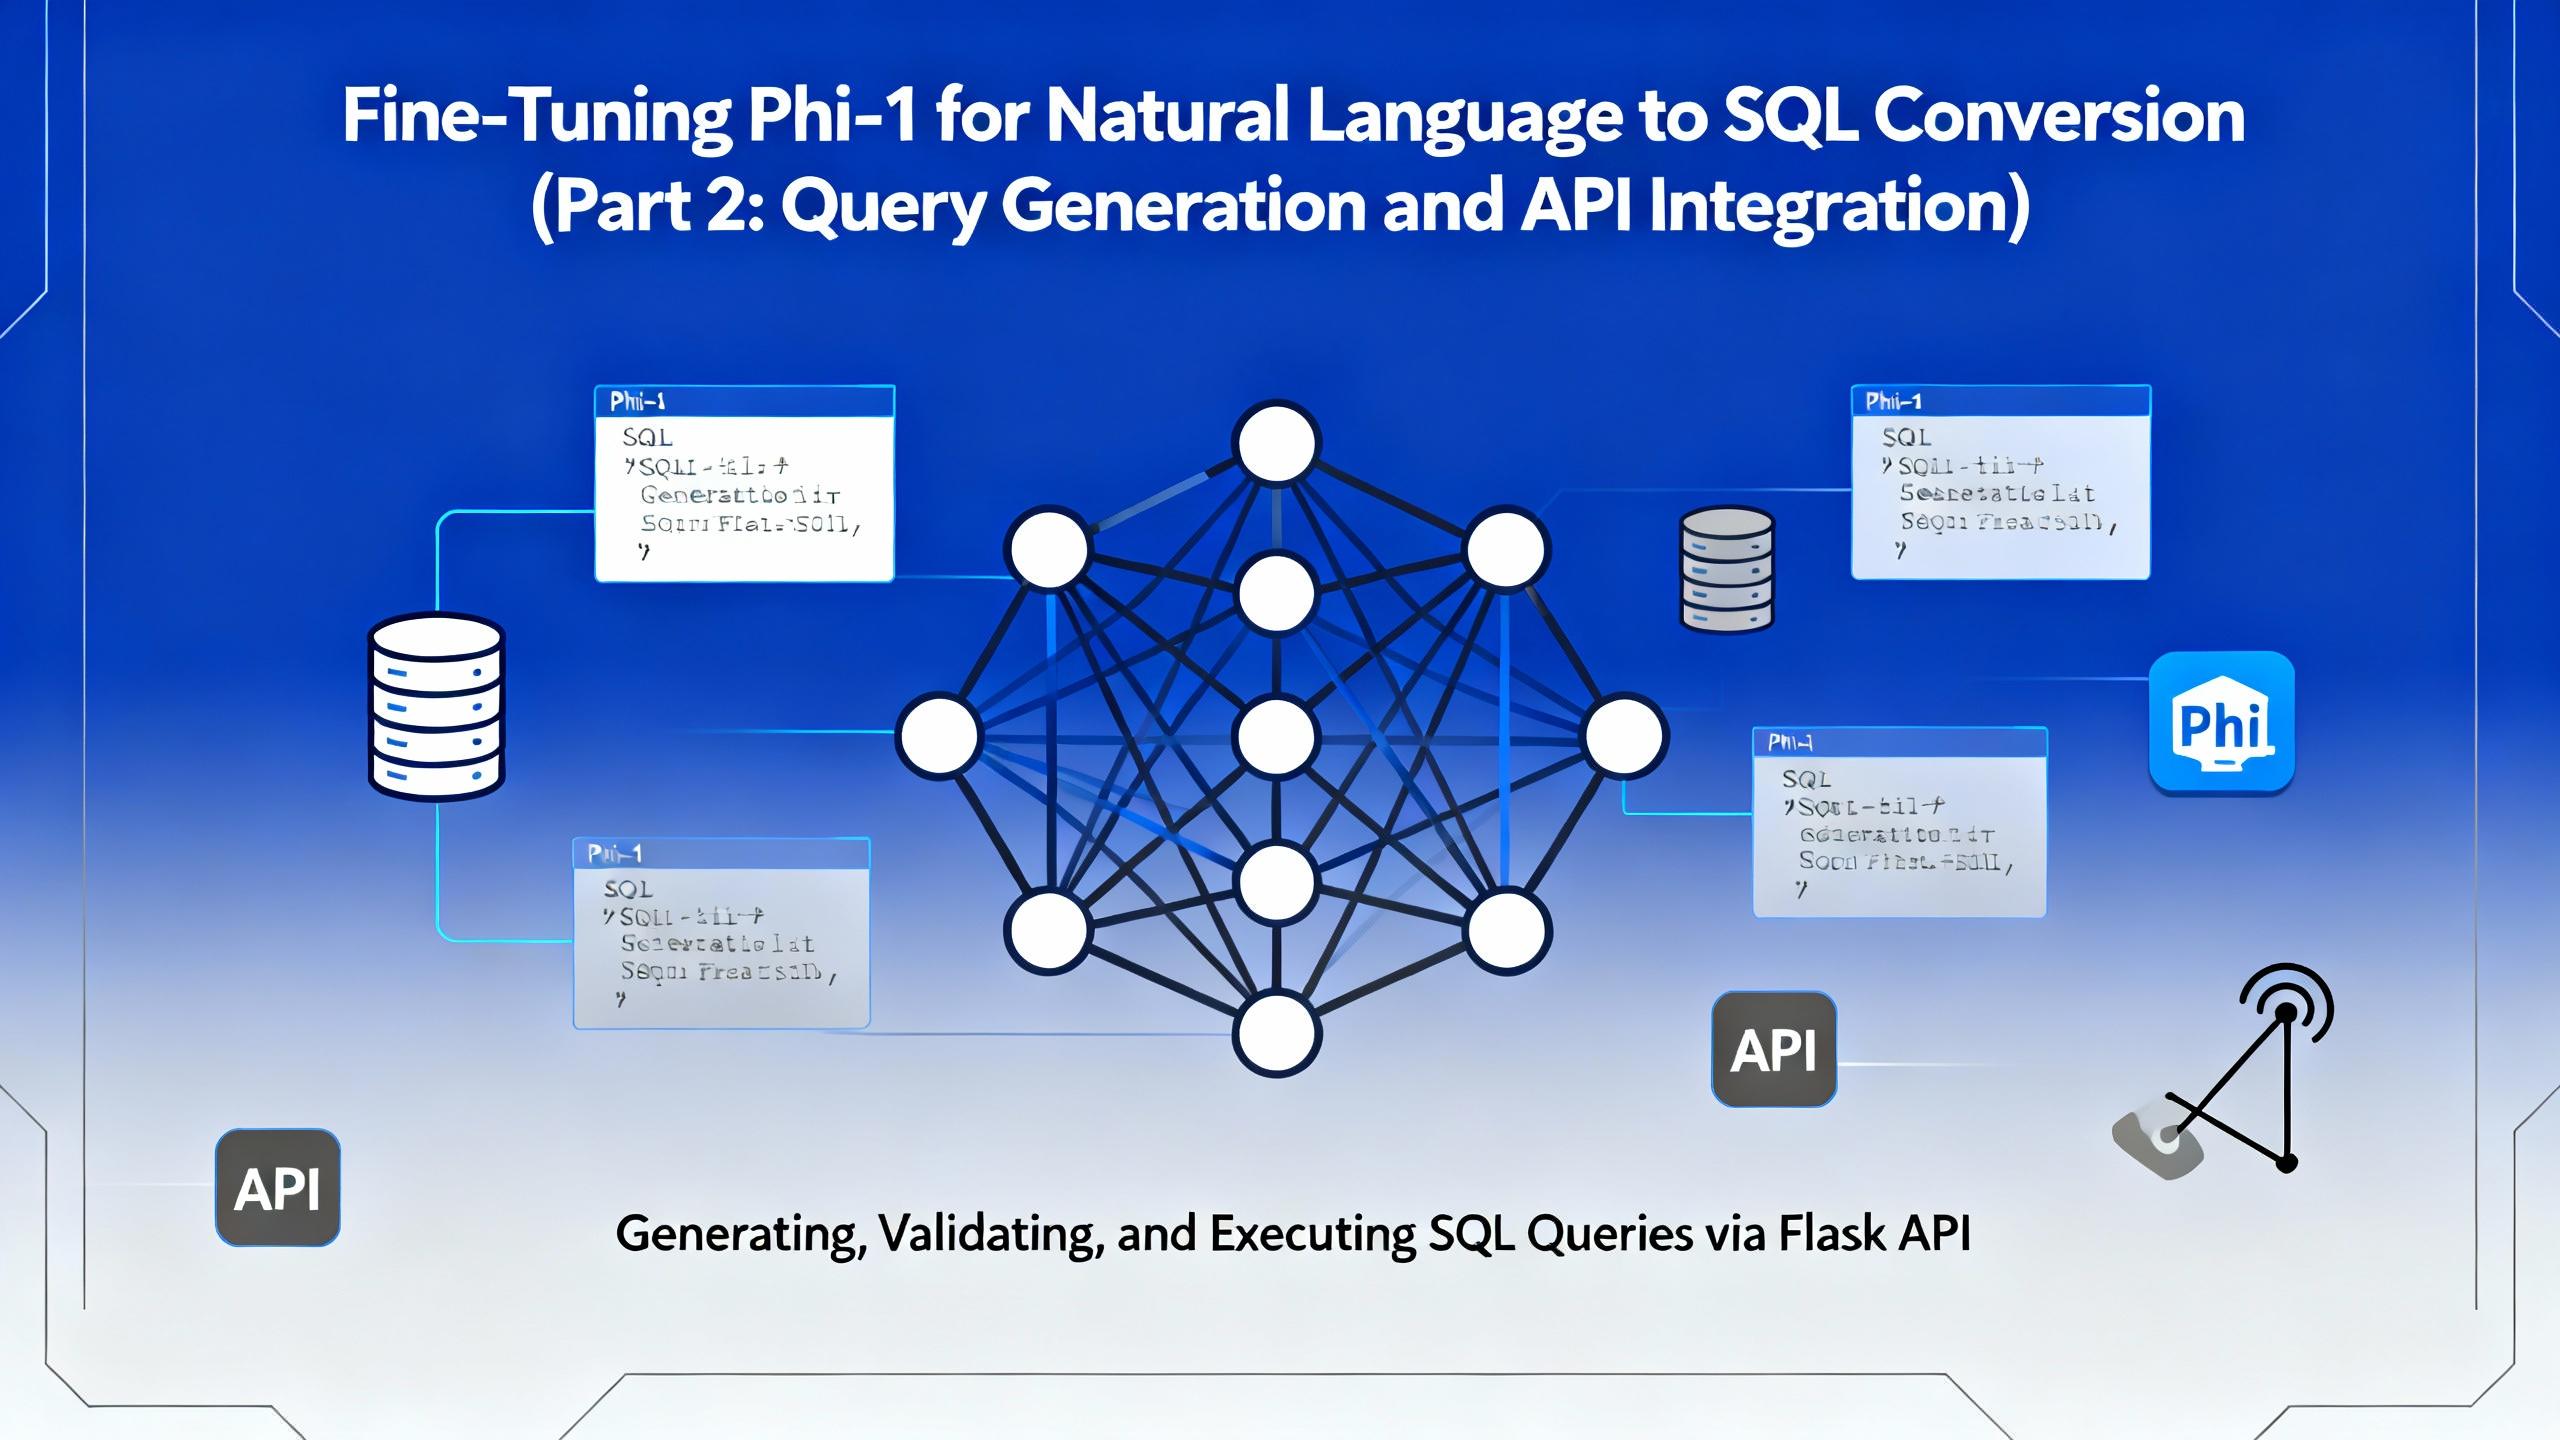
In the second part of this series, we move beyond model training and bring our fine-tuned Microsoft Phi-1 to life. This article focuses on query generation, safe SQL execution, and building a Flask-based API that allows real-time interaction with financial databases.

In today’s data-driven world, being able to query databases with natural language is becoming increasingly valuable. Imagine simply typing: “Show me the total interest income of Kumari Bank in April 2022” and instantly receiving a valid SQL query (and even the corresponding chart!) — no manual SQL writing required.

Discover the power of vibe coding building a Discord attendance bot with AI, transforming a clunky biometric system into a modern solution. Learn how AI-driven development can revolutionize your business, contact DalloTech for custom solutions!
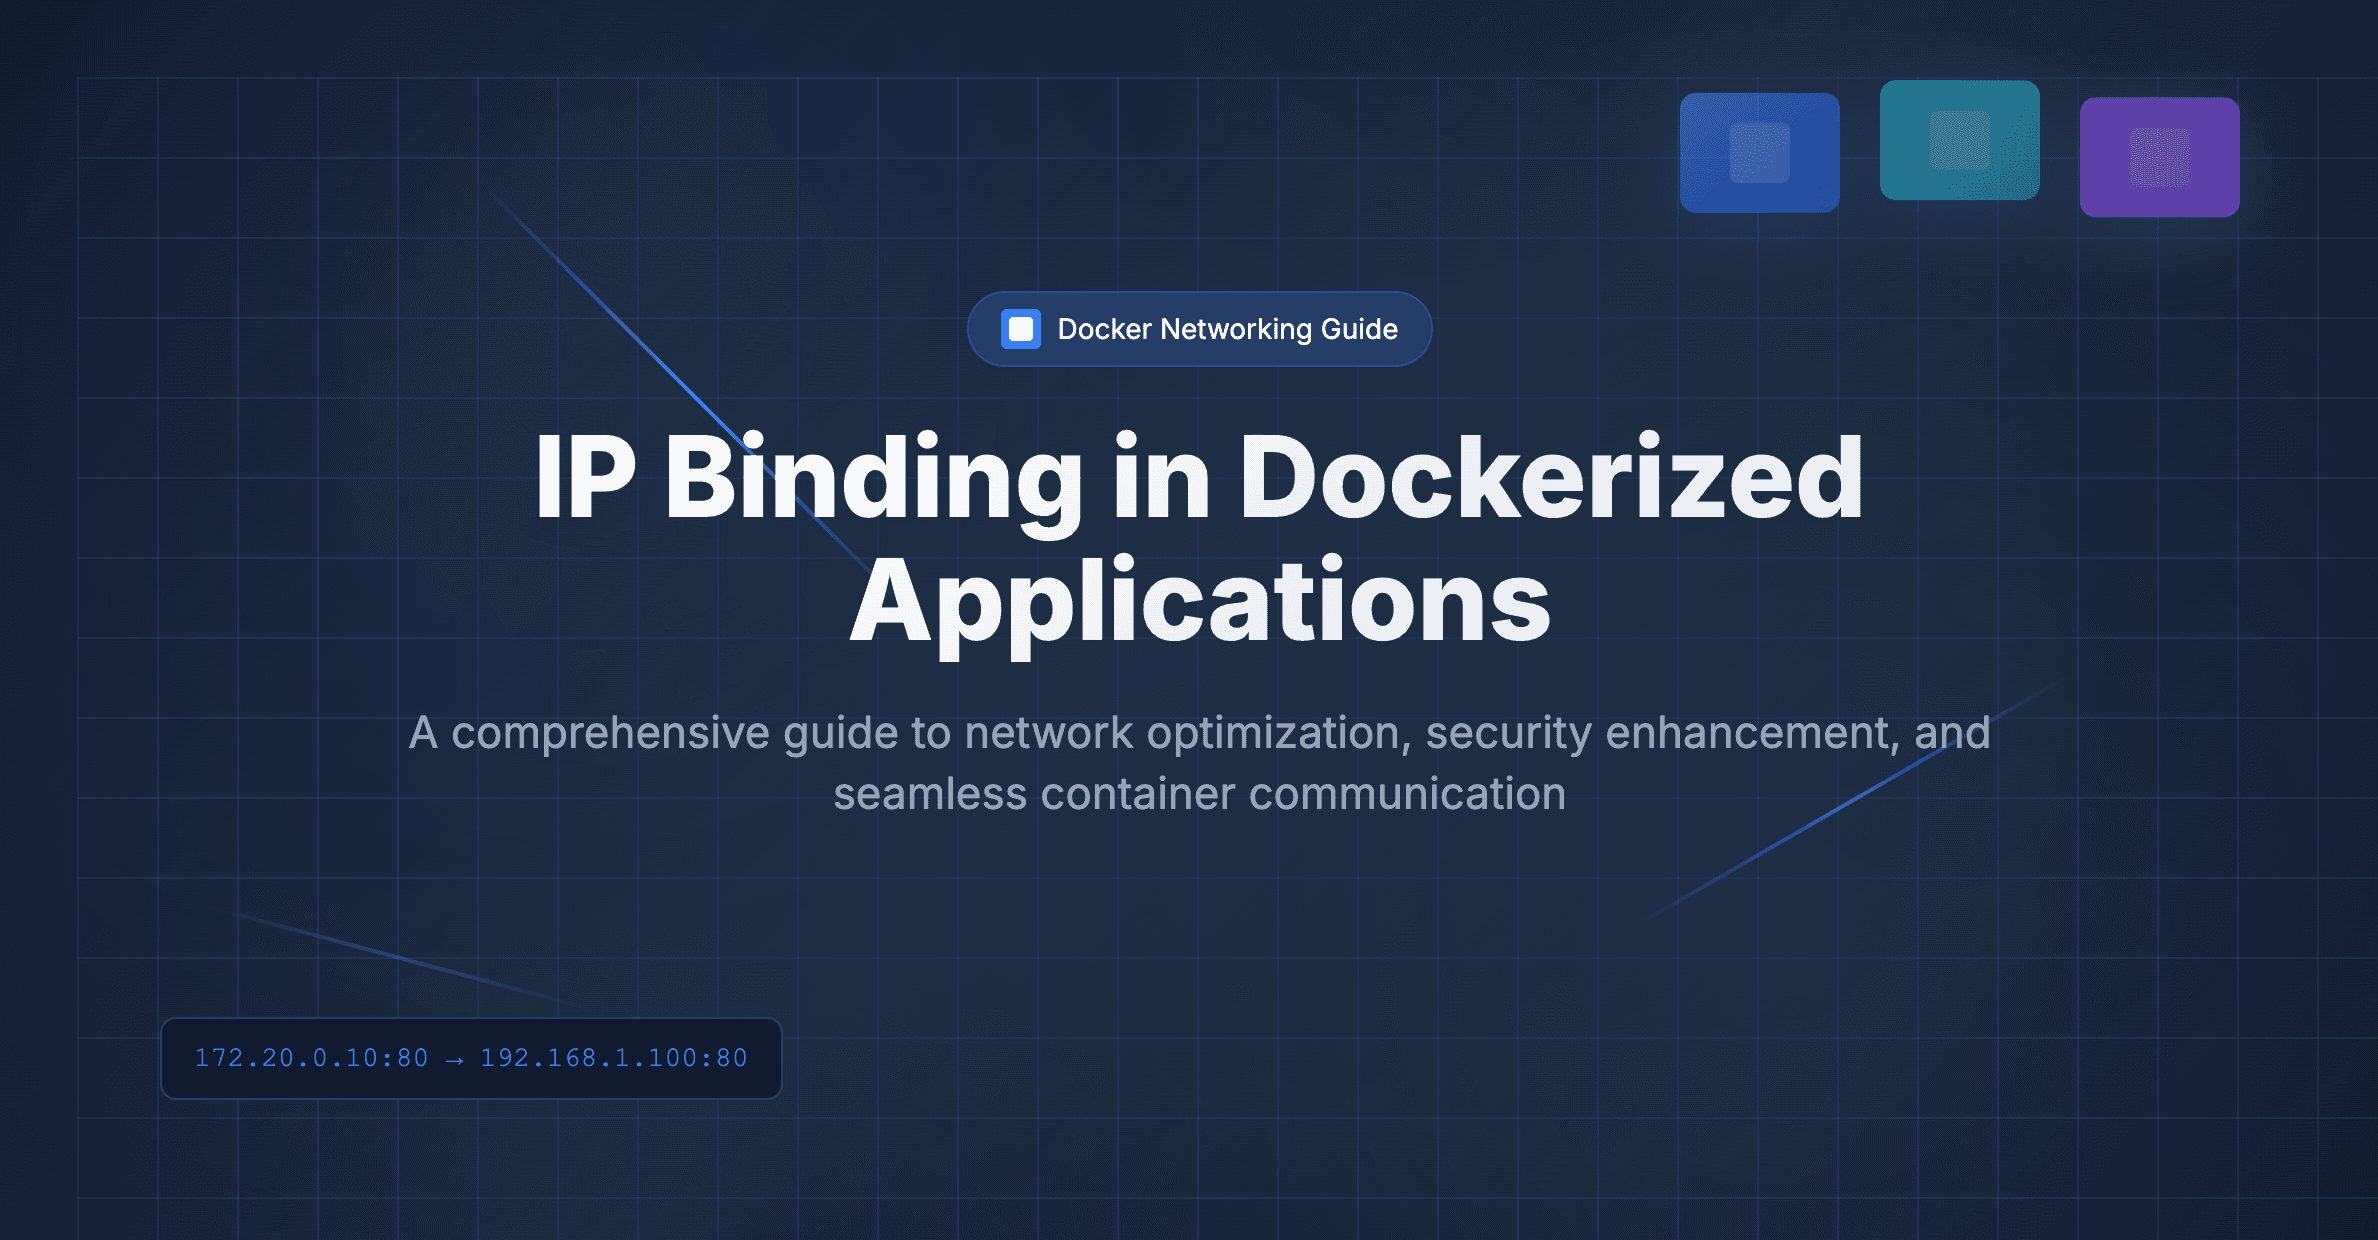
Explore the essentials of IP binding in Dockerized applications with this insightful Dallo Tech blog post. Gain expert tips and best practices to optimize your containerized workflows effectively.
