

(867_542).png&w=3840&q=75)
This tutorial provides Step-by-Step Guide to Deploying Next.js Project with SSL Certificate Using PM2
Prerequisites
-
Hosted Linux server
-
Project on git
Step 1: Log in to the remote Linux server via ssh
Many Hosting services provide a Linux server to host the application. Amazon(EC2), and Linode are some popular hosted servers.
This tutorial is based on Ubuntu OS on the hosted Linux server, though procedures are almost similar for other distros of Linux.
We can log in to the Linux server using SSH(Secure Shell). From a Windows machine, we can use the PuTTY client for the connection and from Linux based system we can use the terminal.
ssh ubuntu@<your_ip_address>Replace <your_ip_address> with the IP of your VPS
Step 2: Installing the required components
First of all, run an update on the Ubuntu server.
sudo apt updateInstall Node.Js on VPS
curl -sL https://deb.nodesource.com/setup_18.x -o nodesource_setup.sh
sudo bash nodesource_setup.sh
Install npm, next, pm2 and nginx
sudo apt install -g npm
sudo apt install -g next
sudo npm install -g pm2
Step 3: Fetch the project from git
git clone your_repository_url project_nameIt will clone the project inside the folder called project_name
Step 4: Build the NextJs project
For deployment purposes, we generally use the build files. So we need to generate the build folder
cd project_name
npm install --legacy-peer-deps
npm run build
A build folder is generated in the project directory it could be either .next or build which will be mentioned in the project configuration
Step 5: Running the project using pm2
pm2 start npm --name "your-project-name" -- startNow your project should be running on the server’s 3000 port.
To check the log of the project use the following command
pm2 log your-project-name
Step 6: Writing Virtual Host Configuration
cd /etc/nginx/conf.d
nano yourdomain.conf
On the nano text editor paste the following script at the end of the file. (Replace yourdomain.com with your original domain)
map $http_upgrade $connection_upgrade {
    default         upgrade;
    ''              close;
}

server {
      server_name yourdomain.com www.yourdomain.com;
      location / {
       # Next.js project
       proxy_pass         http://127.0.0.1:3000;
       proxy_http_version  1.1;
       proxy_set_header    Host        $host;
       proxy_set_header    Upgrade     $http_upgrade;
       proxy_set_header    Connection  $connection_upgrade;
   }
}
Save the file
After this check the script and restart the Nginx server
sudo nginx -t
sudo systemctl restart nginx
Update the DNS A record of your domain to redirect to server IP and after some time visit http://yourdomain.com, you can find your site hosted.
Step 7: Install Certificate
Now we will install the SSL certificate for the site. We are using the Let’s Encrypt certificate provider.
cd ~
sudo apt install certbot python3-certbot-nginx
certbot --nginx -d yourdomain.com -d www.yourdomain.com
If successfully installed you will see the congratulatory message and you will find the certificate on /etc/letsencrypt/live/yourdomain.com/
Visiting /etc/nginx/conf.d/yourdomain.conf file, You will see the HTTPS rules automatically added to the configuration.
Now restart the Nginx server
sudo systemctl restart nginxNow visit the sitehttps://yourdomain.com
Congratulations, you have successfully deployed Next.JS using PM2 along with an SSL certificate.
.png&w=3840&q=75)
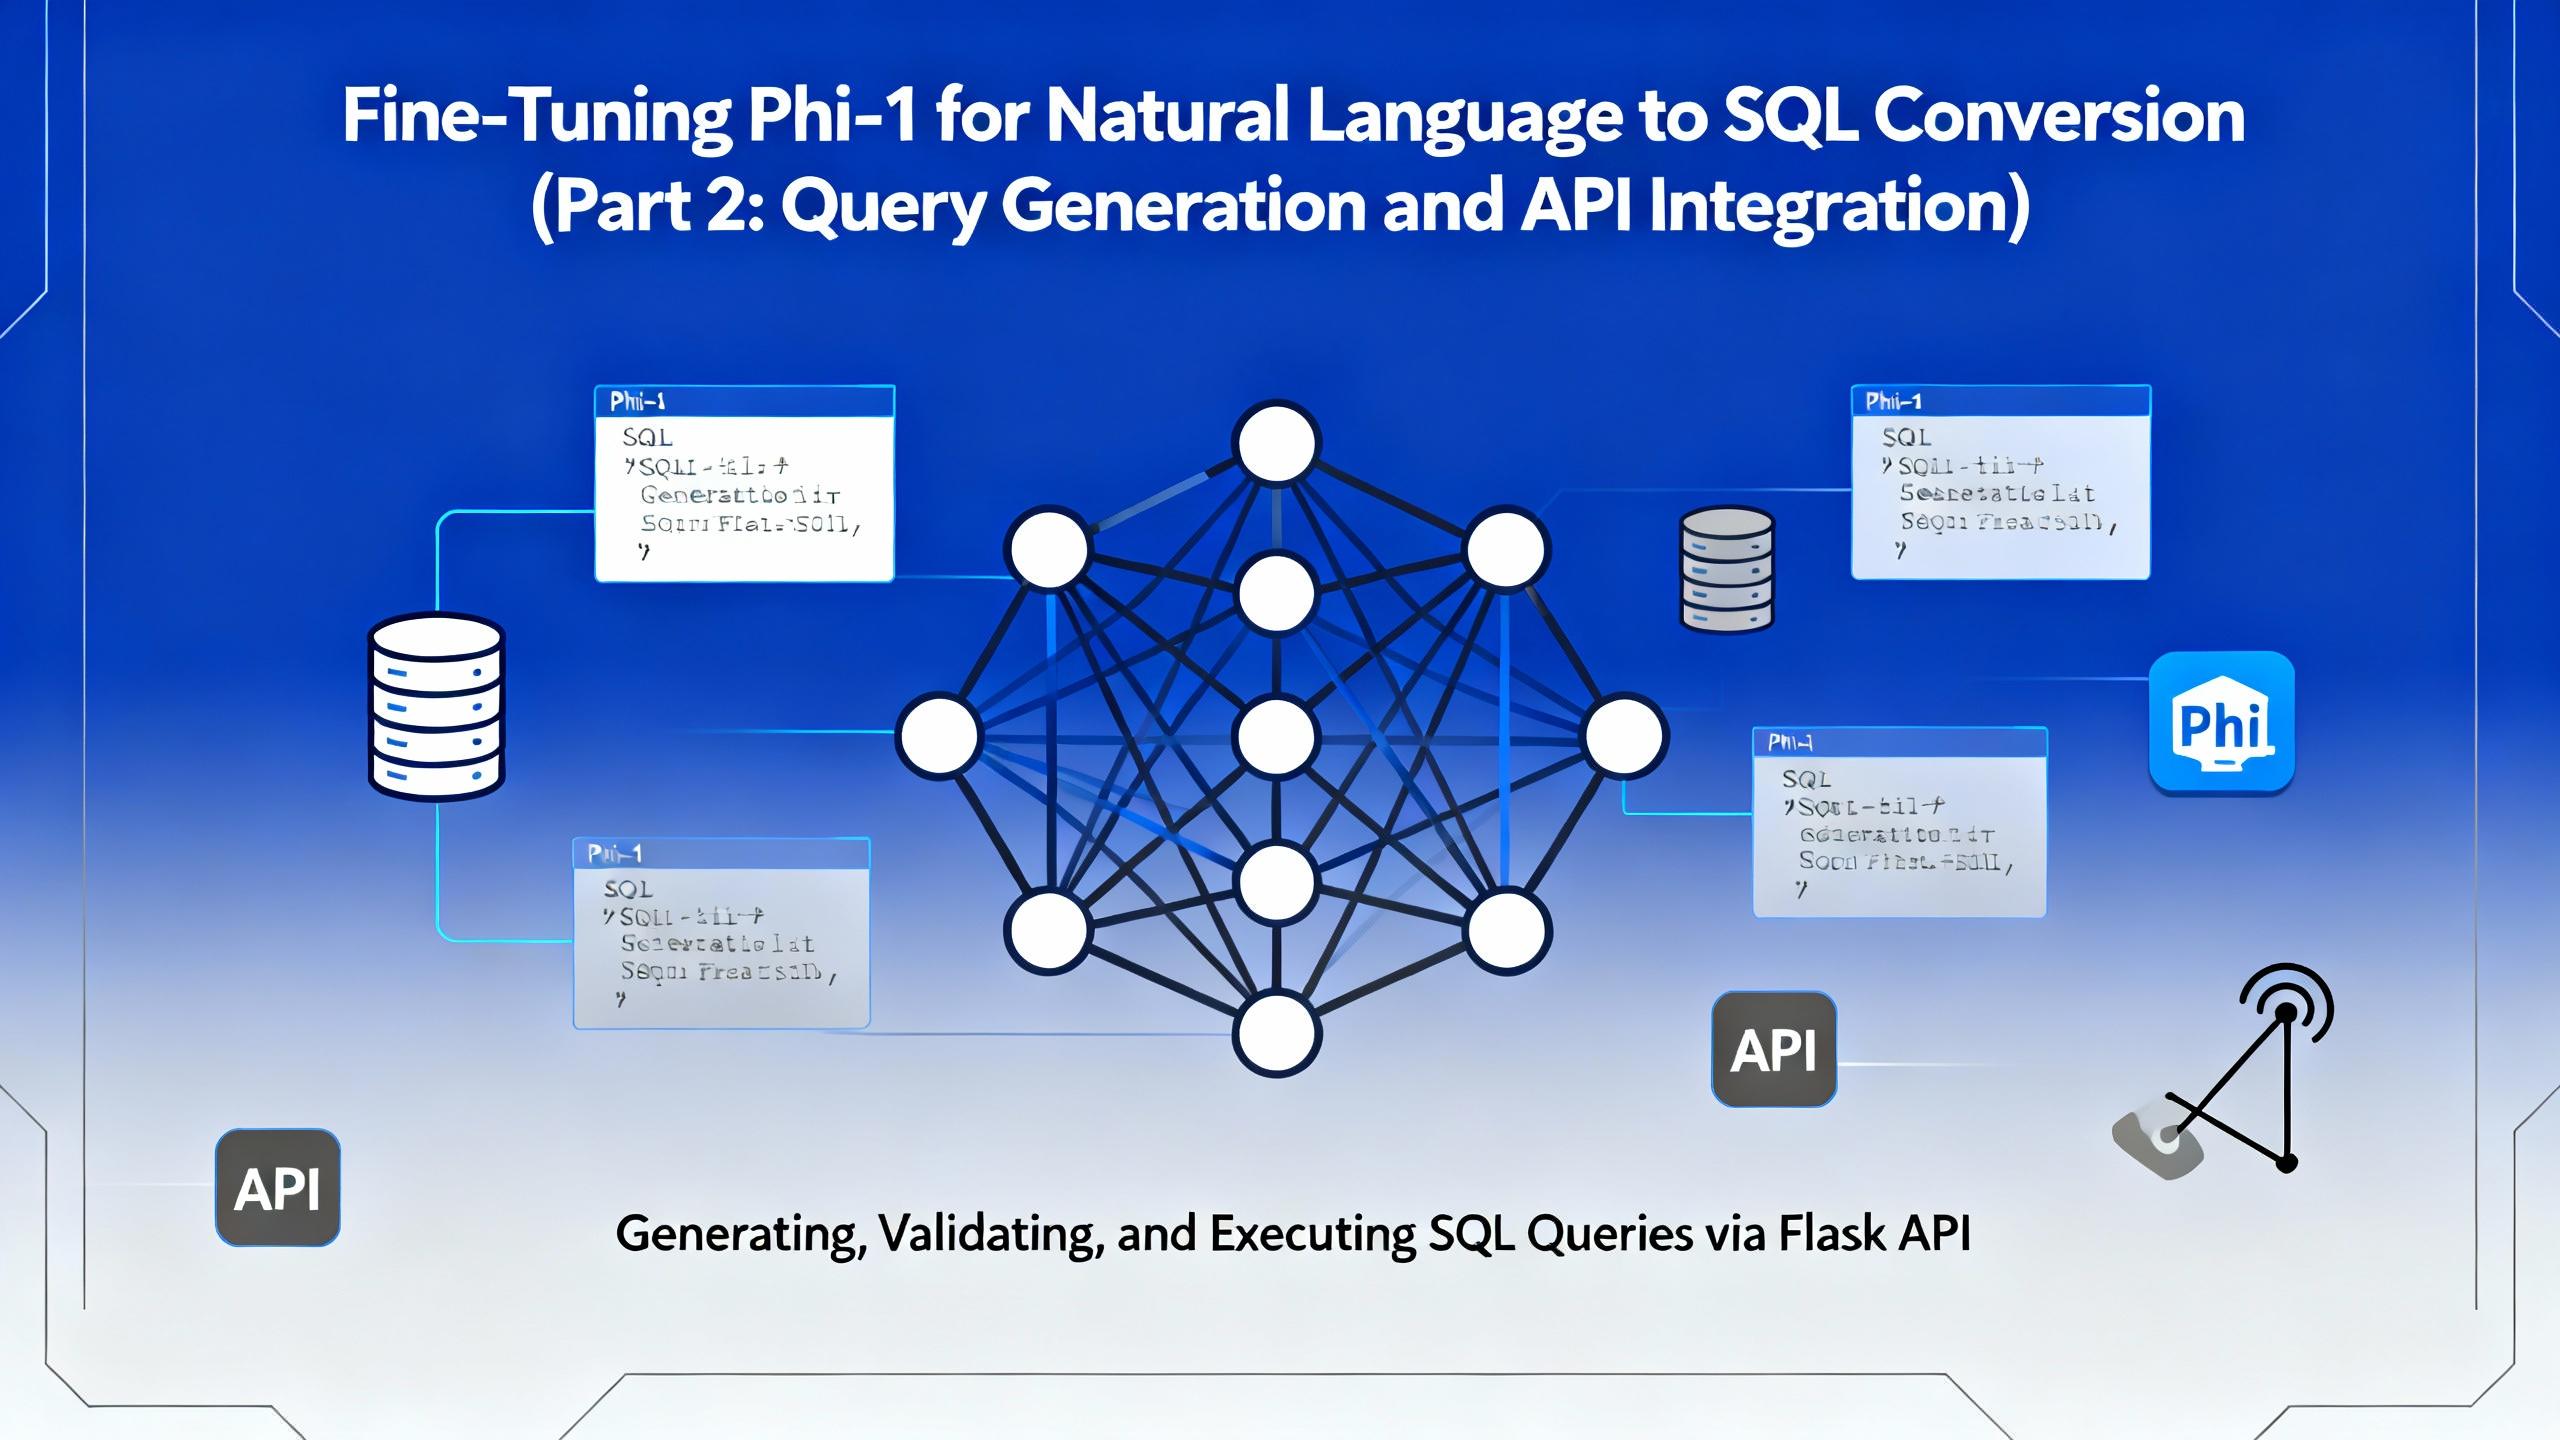
In the second part of this series, we move beyond model training and bring our fine-tuned Microsoft Phi-1 to life. This article focuses on query generation, safe SQL execution, and building a Flask-based API that allows real-time interaction with financial databases.

In today’s data-driven world, being able to query databases with natural language is becoming increasingly valuable. Imagine simply typing: “Show me the total interest income of Kumari Bank in April 2022” and instantly receiving a valid SQL query (and even the corresponding chart!) — no manual SQL writing required.

Discover the power of vibe coding building a Discord attendance bot with AI, transforming a clunky biometric system into a modern solution. Learn how AI-driven development can revolutionize your business, contact DalloTech for custom solutions!
Explore the essentials of IP binding in Dockerized applications with this insightful Dallo Tech blog post. Gain expert tips and best practices to optimize your containerized workflows effectively.
